24.05.2018
Im Rahmen der Nutzung dieser Webseite werden personenbezogene Daten von Ihnen durch uns als den für die Datenverarbeitung Verantwortlichen verarbeitet und für die Dauer gespeichert, die zur Erfüllung der festgelegten Zwecke und gesetzlicher Verpflichtungen erforderlich ist. Im Folgenden informieren wir Sie darüber, um welche Daten es sich dabei handelt, auf welche Weise sie verarbeitet werden und welche Rechte Ihnen diesbezüglich zustehen.
Personenbezogene Daten sind gemäß Art. 4 Nr. 1 Datenschutzgrundverordnung (DSGVO) alle Informationen, die sich auf eine identifizierte oder identifizierbare natürliche Person beziehen.
Inhalt
- Name und Kontaktdaten des für die Verarbeitung Verantwortlichen sowie des betrieblichen Datenschutzbeauftragten
- Verarbeitung personenbezogener Daten und Zwecke der Verarbeitung
- Weitergabe von personenbezogenen Daten
- Cookies
- Webanalyse/Tracking
- Social Plugins
- Komponenten
- Betroffenenrechte
- Datensicherheit
- Aktualität und Änderung dieser Datenschutzinformation
- Salvatorische Klausel
1. Name und Kontaktdaten des für die Verarbeitung Verantwortlichen sowie des betrieblichen Datenschutzbeauftragten
Diese Datenschutzinformation gilt für die Datenverarbeitung auf unserer Institutswebseite https://www.fokus.fraunhofer.de durch den Verantwortlichen:
Fraunhofer-Gesellschaft
zur Förderung der angewandten Forschung e.V.
Hansastraße 27 c,
80686 München
für das Fraunhofer Institut für Offene Kommunikationssysteme
(im Folgenden „Fraunhofer- FOKUS“)
E-Mail: info@fokus.fraunhofer.de
Der Datenschutzbeauftragte von Fraunhofer ist unter der o.g. Anschrift, zu Hd. Datenschutzbeauftragter bzw. unter datenschutz@zv.fraunhofer.de erreichbar.
Sie können sich jederzeit bei Fragen zum Datenschutzrecht oder Ihren Betroffenenrechten direkt an unseren Datenschutzbeauftragten wenden.
2. Verarbeitung personenbezogener Daten und Zwecke der Verarbeitung
a) Beim Besuch der Webseite
Wenn Sie unsere Webseiten besuchen, speichern die Webserver unserer Webseite temporär jeden Zugriff Ihres Endgerätes in einer Protokolldatei. Folgende Daten werden erfasst und bis zur automatisierten Löschung gespeichert:
- IP-Adresse des anfragenden Rechners
- Datum und Uhrzeit des Zugriffs
- Name und URL der abgerufenen Daten
- Übertragene Datenmenge
Meldung, ob der Abruf erfolgreich war
- Verwendeter Browser und Browser-Einstellungen
- Betriebssystem
- Name des Internet-Zugangs-Providers
- Webseite, von der aus der Zugriff erfolgt (Referrer-URL)
Die Verarbeitung dieser Daten erfolgt zu folgenden Zwecken:
- Ermöglichung der Nutzung der Webseite (Verbindungsaufbau)
- Administration der Netzinfrastruktur
- Angemessene technisch-organisatorische Maßnahmen zur IT-System und Informationssicherheit unter Berücksichtigung des Stands der Technik
- Gewährleistung der Nutzerfreundlichkeit der Nutzung
- Optimierung des Internetangebotes
Rechtsgrundlagen für die vorstehenden Verarbeitungen sind
- für die Verarbeitung für den Besuch der Webseiten nach den Nummern 1-2 Art. 6 Abs. 1 S.1 lit. b DSGVO (Erforderlichkeit für die Erfüllung des Webseiten-Nutzungsvertragsverhältnisses),
- für die Verarbeitungen nach Nummer 3 Art. 6 Abs. 1 S.1 lit. c DSGVO (rechtliche Verpflichtung zur Umsetzung technisch-organisatorischer Maßnahmen zur Sicherung der Datenverarbeitung nach Art. 32 DSGVO) und Art. 6 Abs. 1 S.1 lit. f DSGVO (berechtigte Interessen zur Datenverarbeitung für die Netz- und Informationssicherheit) sowie für
- die Verarbeitungen nach den Nummern 4-5 Art. 6 Abs. 1 S.1 lit. f DSGVO (berechtigte Interessen). Die berechtigten Interessen unserer Datenverarbeitung bestehen darin, unser Angebot nutzerfreundlich zu gestalten und zu optimieren.
- Die vorstehend genannten Daten werden nach einer definierten Zeit vom Webserver automatisiert gelöscht, die 30 Tage beträgt. Sofern Daten zu Zwecken nach Nummern 2-5 länger verarbeitet werden, erfolgt die Anonymisierung oder Löschung, wenn die Speicherung für den jeweiligen Zweck nicht mehr erforderlich ist.
Darüber hinaus setzen wir beim Besuch unserer Website Cookies sowie Analysedienste ein. Nähere Erläuterungen dazu erhalten Sie unter den Ziffer 4 und 5 dieser Datenschutzinformation.
b) Bei Anmeldung für Veranstaltungen
Allgemeiner Hinweis:
Wir bieten regelmäßig Veranstaltungen verschiedenster Art über unsere Webseite an, für die Sie sich online anmelden können.
Eine Zusatz zu dieser Datenschutzerklärung für die jeweilige Veranstaltung finden Sie auf deren Homepage sowie auf den Seiten der Veranstaltung, die einen Link zur Anmeldung enthalten.
c) Bei Anmeldung zu unserem Newsletter
Sofern Sie nach Art. 6 Abs. 1 S. 1 lit. a DSGVO ausdrücklich eingewilligt haben, verwenden wir Ihre E-Mail-Adresse dafür, Ihnen regelmäßig unseren Newsletter zu übersenden, der Sie über die Arbeit an unserem Institut und zu anderen Einrichtungen und Veranstaltungen des Fraunhofer e.V. informiert. Für den Empfang des Newsletters erheben wir folgende Pflichtangaben:
- E-Mail-Adresse
- Anrede
- Vorname
- Nachname
Ihren Namen und Ihre Anrede benötigen wir, um Sie persönlich mit unserem Newsletter anzusprechen.
Sie können freiwillig weitere Angaben zu Ihrer Person (z. B. Anschrift, Telefonnummer und Firma) tätigen. Wir verwenden diese Daten, um mit Ihnen telefonisch oder postalisch Kontakt aufzunehmen.
Nach Ihrer Anmeldung erhalten Sie per E-Mail eine Registrierungsbenachrichtigung, die Sie bestätigen müssen, um den Newsletter zu empfangen (sog. Double Opt-In).
Dies dient uns als Nachweis darüber, dass die Registrierung tatsächlich von Ihnen initiiert wurde.
Die Abmeldung ist jederzeit möglich, z.B. über einen Link am Ende eines jeden Newsletters. Alternativ können Sie Ihren Abmeldewunsch gerne auch jederzeit an newsletter@fokus.fraunhofer.de per E-Mail senden oder unter folgendem Link selbst erfüllen: www.fraunhofer.de/de/fraunhofer-newsletter-abmeldung.html.
Ihre E-Mail-Adresse wird nach Widerruf Ihrer Einwilligung zur Zusendung des Newsletters umgehend gelöscht.
Wir versenden unseren Newsletter mittels des Anbieters mailingwork GmbH, Hauptgeschäftssitz: Birkenweg 7, 09569 Oederan. Die E-Mail-Adressen unserer Newsletterempfänger werden in unserem Auftrag auf den Servern von mailingwork GmbH in Deutschland gespeichert.
mailingwork GmbH verwendet diese Informationen zum Versand und zur Auswertung der Newsletter in unserem Auftrag. Wir haben dazu mit mailingwork GmbH einen Auftragsverarbeitungsvertrag abgeschlossen. Durch diesen Vertrag versichert mailingwork GmbH, dass Sie die Daten im Einklang mit der Datenschutzgrundverordnung verarbeiten und den Schutz der Rechte der betroffenen Person gewährleisten.
mailingwork GmbH versichert, dass personenbezogene Daten umfassend vor unerlaubten Zugriffen geschützt sind. mailingwork GmbH selbst nutzt die Daten unserer Newsletterempfänger nicht, um diese selbst anzuschreiben oder gibt die Daten an Dritte weiter. Als seriöser E-Mail-Versender ist mailingwork GmbH zudem durch die Certified Senders Alliance zertifiziert.
d) Bei Nutzung von Kontaktformularen
Wir bieten Ihnen an verschiedenen Stellen der Webseite die Möglichkeit, mit uns über ein auf den Seiten bereitgestelltes Formular Kontakt aufzunehmen. Dabei sind zumeist die folgenden Angaben als Pflichtangaben erforderlich:
- Anrede
- Vor- und Nachname
- E-Mail-Adresse
Ihre Daten benötigen wir, um festzustellen von wem die Anfrage stammt und um diese beantworten und bearbeiten zu können.
Die Datenverarbeitung erfolgt auf Ihre Anfrage hin und ist im Rahmen der Beantwortung einer Kontaktanfrage auf unsere berechtigten Interessen gem. Art. 6 Abs. 1 S. 1 lit. f DSGVO gestützt.
Die für die Benutzung des Kontaktformulars von uns erhobenen personenbezogenen Daten werden nach Erledigung der von Ihnen gestellten Anfrage automatisch gelöscht.
e) Bei Nutzung von Bestellformularen
Sofern Sie Informationsmaterialien oder andere Waren über unsere Webseiten bestellen, verwenden wir die dabei angegebenen Adressdaten nur zum Zweck der Abwicklung der Bestellung. Dabei sind zumeist die folgenden Angaben als Pflichtangaben erforderlich:
- Anrede
- Vor- und Nachname
- E-Mail-Adresse
- Straße
- PLZ
- Ort
- Land
Ihre Daten benötigen wir, um festzustellen von wem die Anfrage stammt und um die Bestellung beantworten und bearbeiten zu können.
Die Datenverarbeitung erfolgt auf Ihre Anfrage hin und ist im Rahmen der Beantwortung einer Kontaktanfrage auf unsere berechtigten Interessen gem. Art. 6 Abs. 1 S. 1 lit. f DSGVO gestützt.
Die für die Benutzung des Bestellformulars von uns erhobenen personenbezogenen Daten werden nach Erledigung der von Ihnen gestellten Anfrage automatisch gelöscht.
3. Weitergabe von personenbezogenen Daten
Außer in den zuvor genannten Fällen einer Verarbeitung im Auftrag (Anmeldung für Veranstaltungen (Zusatz Datenschutzerklärung auf Veranstaltungsseite), Anmeldung zu einem Newsletter, Kontaktformular und Bestellformular) geben wir Ihre personenbezogenen Daten nur an Dritte, d.h. andere natürliche oder juristische Personen außer Ihnen (der betroffenen Person), dem Verantwortlichen oder dem Auftragsverarbeiter und deren zur Datenverarbeitung befugten Mitarbeiter weiter, wenn:
- Sie gem. Art. 6 Abs. 1 S. 1 lit. a DSGVO Ihre ausdrückliche Einwilligung dazu erteilt haben;
- dies gem. Art. 6 Abs. 1 S. 1 lit. b DSGVO für die Erfüllung eines Vertrages mit Ihnen erforderlich ist,
- Weitergabe an Versandunternehmen zum Zwecke der Lieferung der von Ihnen bestellten Ware,
- Weitergabe von Zahlungsdaten an Zahlungsdienstleister bzw. Kreditinstitute, um einen Zahlungsvorgang durchzuführen;
- für den Fall, dass für die Weitergabe nach Art. 6 Abs. 1 S. 1 lit. c DSGVO eine gesetzliche Verpflichtung besteht, bspw. an Finanz- oder Strafverfolgungsbehörden;
- die Weitergabe ist nach Art. 6 Abs. 1 S. 1 lit. f DSGVO zur Geltendmachung, Ausübung oder Verteidigung von Rechtsansprüchen erforderlich und es besteht kein Grund zur Annahme, dass Sie ein überwiegendes schutzwürdiges Interesse an der Nichtweitergabe Ihrer Daten haben; eine solche Weitergabe kann bspw. im Falle von Angriffen auf unsere IT-Systeme an staatliche Einrichtungen und Strafverfolgungsbehörden erfolgen.
Die weitergegebenen Daten dürfen von dem Dritten ausschließlich zu den genannten Zwecken verwendet werden.
Wenn Sie sich für eine Veranstaltung angemeldet haben, kann es im Rahmen der Vertragserfüllung erforderlich sein, dass Ihre personenbezogenen Daten an einen externen Veranstalter übermittelt werden müssen. Im Zusammenhang mit einer Veranstaltungsanmeldung werden Sie darüber informiert, wer Veranstalter ist und ob es sich dabei um einen externen Veranstalter handelt. Dieser wird personenbezogenen Daten im Rahmen der Veranstaltung und insbesondere zur Teilnehmerverwaltung verarbeiten.
Im Übrigen werden unsere Webseiten gemäß Art. 28 DSGVO von unserem Auftragsverarbeiter Infopark AG, Kitzingstraße 15, 12277 Berlin, Deutschland ausschließlich auf Servern in Deutschland gehostet.
Eine Übermittlung von personenbezogenen Daten an ein Drittland (außerhalb der EU) oder eine internationale Organisation ist ausgeschlossen.
4. Cookies
Wir setzen auf unserer Seite Cookies ein. Hierbei handelt es sich um kleine Dateien, die Ihr Browser automatisch erstellt und die auf Ihrem Endgerät (Laptop, Tablet, Smartphone o.ä.) gespeichert werden, wenn Sie unsere Seite besuchen. Cookies richten auf Ihrem Endgerät keinen Schaden an, enthalten keine Viren, Trojaner oder sonstige Schadsoftware.
In dem Cookie werden Informationen abgelegt, die sich jeweils im Zusammenhang mit dem spezifisch eingesetzten Endgerät ergeben. Dies bedeutet jedoch nicht, dass wir dadurch unmittelbar Kenntnis von Ihrer Identität erhalten.
Der Einsatz von Cookies dient einerseits dazu, die Nutzung unseres Angebots für Sie angenehmer zu gestalten. So setzen wir sogenannte Session-Cookies ein, um die Sitzungssteuerung zu ermöglichen, bspw. Formulareingaben oder Warenkörbe während der Sitzung zu speichern. Session-Cookies werden spätestens mit dem Schließen Ihres Webbrowsers gelöscht.
Darüber hinaus setzen wir ebenfalls zur Optimierung der Benutzerfreundlichkeit temporäre Cookies ein, die für einen bestimmten festgelegten Zeitraum auf Ihrem Endgerät gespeichert werden. Besuchen Sie unsere Seite erneut, um unsere Dienste in Anspruch zu nehmen, wird automatisch erkannt, dass Sie bereits bei uns waren und welche Eingaben und Einstellungen Sie getätigt haben, um diese nicht noch einmal eingeben zu müssen.
Zum anderen setzen wir Cookies ein, um die Nutzung unserer Website statistisch zu erfassen und zum Zwecke der Optimierung unseres Angebotes für Sie auszuwerten (siehe Ziffer 4). Diese Cookies ermöglichen es uns, bei einem erneuten Besuch unserer Seite automatisch zu erkennen, dass Sie bereits bei uns waren. Diese Cookies werden nach einer jeweils definierten Zeit automatisch gelöscht.
Die durch Cookies verarbeiteten Daten sind für die genannten Zwecke zur Wahrung unserer berechtigten Interessen sowie der Dritter nach Art. 6 Abs. 1 S. 1 lit. f DSGVO erforderlich.
Die meisten Browser akzeptieren Cookies automatisch. Sie können Ihren Browser jedoch so konfigurieren, dass keine Cookies auf Ihrem Computer gespeichert werden oder stets ein Hinweis erscheint, bevor ein neuer Cookie angelegt wird. Die vollständige Deaktivierung von Cookies kann jedoch dazu führen, dass Sie nicht alle Funktionen unserer Website nutzen können.
5. Webanalyse/Tracking
a) LeadLab (wiredminds GmbH)
Wir setzen auf unserer Webseite den Dienst Leadlab von der Wiredminds GmbH und deren Zählpixeltechnologie zur Analyse des Nutzungsverhaltens und zur darauf basierenden Optimierung unserer Seite ein. Insbesondere erlaubt uns der Dienst zu erkennen, welche Unternehmen unsere Seite besucht haben. Dabei erhalten wir keine Informationen, die Sie unmittelbar identifizieren.
Im Zusammenhang mit dem Einsatz von Leadlab werden Cookies und Zählpixel eingesetzt, die eine statistische Analyse der Nutzung dieser Website durch Ihre Besuche ermöglichen. In dem Cookie werden Informationen – einschließlich personenbezogener Informationen -zu Ihrem Besucherverhalten abgelegt und an Wiredminds übermittelt oder direkt von Wiredminds erhoben. Die Informationen werden von Wiredminds unter Verwendung eines Pseudonyms in einem Nutzungsprofil zum Zwecke der Analyse verarbeitet und möglichst anonymisiert.
Die dabei gewonnenen Daten werden ohne Ihre gesondert erteilte Zustimmung nicht benutzt, um Sie persönlich zu identifizieren und die Daten werden nicht mit personenbezogenen Daten über Sie als Träger des Pseudonyms zusammengeführt.
Soweit IP-Adressen erhoben werden, werden diese unverzüglich nach Erhebung durch Löschen des letzten Nummernblocks anonymisiert.
Informationen zum Datenschutz bei der Wireminds finden Sie auf deren Webseite.
Die Datenverarbeitung erfolgt auf Grund unseres berechtigten Interesses gemäß Art. 6 Abs.1 lit. f DSGVO an der Optimierung unseres Online-Angebotes und unseres Webauftritts. Wiredminds verarbeitet die Daten in unserem Auftrag und wir haben einen Auftragsverarbeitungsvertrag mit Wiredminds abgeschlossen. Dieser stellt sicher, dass die Datenverarbeitung in unserem Auftrag im Einklang mit der Datenschutzgrundverordnung erfolgt und den Schutz der Rechte der betroffenen Personen gewährleistet.
Sollten Sie die Erfassung und Analyse Ihres Benutzerverhaltens nicht wünschen, dann können Sie dem mittels eines Opt-Out-Cookies widersprechen. Es wird ein Opt-Out-Cookie gesetzt, das die zukünftige Erfassung Ihrer Daten beim Besuch dieser Webseite verhindert. Der Opt-Out-Cookie gilt nur in diesem Browser und nur für unsere Webseite und wird auf Ihrem Gerät abgelegt. Löschen Sie die Cookies in diesem Browser, müssen Sie das Opt-Out-Cookie erneut setzen.
Mit diesem Link können Sie dem Tracking widersprechen:
https://wm.wiredminds.de/track/cookie_mgr.php?mode=dont_track_ask&websitesel=b1fdb0667d2d0f0e&lang=de
6. Social plugins
Wir setzen auf unserer Webseite sog. Social-Media-Buttons (auch Social-Media-Plugins) ein. Hierbei handelt es sich um kleine Schaltflächen mittels derer Sie Inhalte unserer Webseite in sozialen Netzwerken unter Ihrem Profil veröffentlichen können.
Sofern Sie eine solche Schaltfläche aktivieren, wird eine Verbindung zwischen unserer Webseite und dem soziale Netzwerk hergestellt. Neben den betreffenden Inhalten, erhält der Betreiber des sozialen Netzwerkes weitere zum Teil personenbezogene Information. Dazu gehört etwa der Umstand, dass Sie gerade unsere Seite besuchen.
Die Einbindung der Social-Media-Buttons erfolgt unter Einsatz der sog. Shariff-Lösung. Diese Lösung verhindert, dass bereits eine Verbindung zu einem sozialen Netzwerk aufgebaut wird, nur weil Sie eine Seite mit einem Social-Media-Button aufrufen, ohne diesen zu aktivieren. Das bedeutet, dass erst dann Informationen an das soziale Netzwerk übermittelt werden, wenn Sie die Schaltfläche einsetzen.
Die folgenden Social-Media-Plugins setzen wir ein:
a) Facebook Teilen der Facebook Ireland Limited
Teilweise werden Informationen an die Muttergesellschaft Facebook Inc. mit Sitz in den USA übermittelt. Diese beachtet die Datenschutzbestimmungen des „US-Privacy-Shield“ und ist beim „US-Privacy Shield“-Programm des USHandelsministeriums registriert.
Zweck und Umfang der Datenerhebung und die weitere Verarbeitung und Nutzung der Daten durch Facebook sowie Ihre diesbezüglichen Rechte und Einstellungsmöglichkeiten zum Schutz Ihrer Privatsphäre entnehmen Sie bitte den Datenschutzhinweisen von Facebook.
b) Twitter Teilen der Twitter International Company
Teilweise werden Informationen an die Muttergesellschaft Twitter Inc. mit Sitz in den USA übermittelt. Diese beachtet die Datenschutzbestimmungen des „US-Privacy-Shield“ und ist beim „US-Privacy Shield“-Programm des US-Handelsministeriums registriert.
Weitere Informationen zum Datenschutz bei Twitter finden Sie in der Datenschutzerklärung von Twitter.
c) Google+ teilen der Google LLC
Google beachtet die Datenschutzbestimmungen des „US-Privacy-Shield“ und ist beim „US-Privacy Shield“-Programm des US-Handelsministeriums registriert.
Weitere Informationen zum Datenschutz bei Google finden Sie in der Datenschutzerklärung von Google.
7. Komponenten
a) YouTube
Wir setzen auf unseren Internetseiten auf der Grundlage einer Einwilligung nach Art. 6 Abs. 1 S. 1 lit. f DSGVO Komponenten (Videos) des Unternehmens YouTube, LLC 901 Cherry Ave., 94066 San Bruno, CA, USA (Im Folgenden: „YouTube“), einem Unternehmen der Google Inc., Amphitheatre Parkway, Mountain View, CA 94043, USA (Im Folgenden: „Google“), ein.
Hierbei nutzen wir die von YouTube zur Verfügung gestellte Option des „erweiterten Datenschutzmodus".
Wenn Sie eine Seite aufrufen, die über ein eingebettetes Video verfügt, wird eine Verbindung zu den YouTube-Servern hergestellt und dabei der Inhalt durch Mitteilung an Ihren Browser auf der Internetseite dargestellt.
Laut den Angaben von YouTube werden im „erweiterten Datenschutzmodus“ nur dann Ihre Daten - insbesondere welche unserer Internetseiten Sie besucht haben sowie gerätespezifische Informationen inklusive der IP-Adresse - an den YouTube-Server in den USA übermittelt, wenn Sie das Video anschauen. Durch den Klick auf das Video willigen Sie in diese Übermittlung ein.
Sind Sie gleichzeitig bei YouTube eingeloggt, werden diese Informationen Ihrem Mitgliedskonto bei YouTube zugeordnet. Dies können Sie verhindern, indem Sie sich vor dem Besuch unserer Website von Ihrem Mitgliedskonto abmelden.
Google beachtet die Datenschutzbestimmungen des „US-Privacy-Shield“ und ist beim „US-Privacy Shield“-Programm des US-Handelsministeriums registriert.
Weitere Informationen zum Datenschutz im Zusammenhang mit YouTube finden Sie in den Datenschutzbestimmungen von Google.
b) Google Maps
Wir binden die Landkarten des Dienstes „Google Maps” des Anbieters Google LLC, 1600 Amphitheatre Parkway, Mountain View, CA 94043, USA, ein. Zu den verarbeiteten Daten können insbesondere IP-Adressen und Standortdaten der Nutzer gehören, die jedoch nicht ohne deren Einwilligung (im Regelfall im Rahmen der Einstellungen ihrer Mobilgeräte vollzogen), erhoben werden. Die Daten können in den USA verarbeitet werden. Datenschutzerklärung: https://www.google.com/policies/privacy/, Opt-Out: https://adssettings.google.com/authenticated.
8. Betroffenenrechte
Sie haben das Recht:
- gemäß Art. 7 Abs. 3 DSGVO Ihre einmal erteilte Einwilligung jederzeit gegenüber uns zu widerrufen. Dies hat zur Folge, dass wir die Datenverarbeitung, die auf dieser Einwilligung beruhte, für die Zukunft nicht mehr fortführen dürfen;
- gemäß Art. 15 DSGVO Auskunft über Ihre von uns verarbeiteten personenbezogenen Daten zu verlangen. Insbesondere können Sie Auskunft über die Verarbeitungszwecke, die Kategorie der personenbezogenen Daten, die Kategorien von Empfängern, gegenüber denen Ihre Daten offengelegt wurden oder werden, die geplante Speicherdauer, das Bestehen eines Rechts auf Berichtigung, Löschung, Einschränkung der Verarbeitung oder Widerspruch, das Bestehen eines Beschwerderechts, die Herkunft ihrer Daten, sofern diese nicht bei uns erhoben wurden, sowie über das Bestehen einer automatisierten Entscheidungsfindung einschließlich Profiling und ggf. aussagekräftigen Informationen zu deren Einzelheiten verlangen;
- gemäß Art. 16 DSGVO unverzüglich die Berichtigung unrichtiger oder Vervollständigung Ihrer bei uns gespeicherten personenbezogenen Daten zu verlangen;
- gemäß Art. 17 DSGVO die Löschung Ihrer bei uns gespeicherten personenbezogenen Daten zu verlangen, soweit nicht die Verarbeitung zur Ausübung des Rechts auf freie Meinungsäußerung und Information, zur Erfüllung einer rechtlichen Verpflichtung, aus Gründen des öffentlichen Interesses oder zur Geltendmachung, Ausübung oder Verteidigung von Rechtsansprüchen erforderlich ist;
- gemäß Art. 18 DSGVO die Einschränkung der Verarbeitung Ihrer personenbezogenen Daten zu verlangen, soweit die Richtigkeit der Daten von Ihnen bestritten wird, die Verarbeitung unrechtmäßig ist, Sie aber deren Löschung ablehnen und wir die Daten nicht mehr benötigen, Sie jedoch diese zur Geltendmachung, Ausübung oder Verteidigung von Rechtsansprüchen benötigen oder Sie gemäß Art. 21 DSGVO Widerspruch gegen die Verarbeitung eingelegt haben;
- gemäß Art. 20 DSGVO Ihre personenbezogenen Daten, die Sie uns bereitgestellt haben, in einem strukturierten, gängigen und maschinenlesebaren Format zu erhalten oder die Übermittlung an einen anderen Verantwortlichen zu verlangen und
- gemäß Art. 77 DSGVO sich bei einer Aufsichtsbehörde zu beschweren. In der Regel können Sie sich hierfür an die Aufsichtsbehörde ihres üblichen Aufenthaltsortes oder Arbeitsplatzes oder unseres Unternehmenssitzes wenden.
Information über Ihr Widerspruchsrecht nach Art. 21 DSGVO
Sie haben das Recht, aus Gründen, die sich aus Ihrer besonderen Situation ergeben, jederzeit gegen die Verarbeitung Sie betreffender personenbezogener Daten, die aufgrund von Artikel 6 Absatz 1 Buchstabe e DSGVO (Datenverarbeitung im öffentlichen Interesse) und Artikel 6 Absatz 1 Buchstabe f DSGVO (Datenverarbeitung auf der Grundlage einer Interessenabwägung) erfolgt, Widerspruch einzulegen; dies gilt auch für ein auf diese Bestimmung gestütztes Profiling von Artikel 4 Nr. 4 DSGVO.
Legen Sie Widerspruch ein, werden wir Ihre personenbezogenen Daten nicht mehr verarbeiten, es sei denn, wir können zwingende schutzwürdige Gründe für die Verarbeitung nachweisen, die Ihre Interessen, Rechte und Freiheiten überwiegen, oder die Verarbeitung dient der Geltendmachung, Ausübung oder Verteidigung von Rechtsansprüchen.
Sofern sich Ihr Widerspruch gegen eine Verarbeitung von Daten zum Zwecke der Direktwerbung richtet, so werden wir die Verarbeitung umgehend einstellen. In diesem Fall ist die Angabe einer besonderen Situation nicht erforderlich. Dies gilt auch für das Profiling, soweit es mit solcher Direktwerbung in Verbindung steht.
Möchten Sie von Ihrem Widerspruchsrecht Gebrauch machen, genügt eine E-Mail an datenschutz@zv.fraunhofer.de.
9. Datensicherheit
Alle von Ihnen persönlich übermittelten Daten werden mit dem allgemein üblichen und sicheren Standard TLS (Transport Layer Security) verschlüsselt übertragen. TLS ist ein sicherer und erprobter Standard, der z.B. auch beim Onlinebanking Verwendung findet. Sie erkennen eine sichere TLS-Verbindung unter anderem an dem angehängten s am http (also https://…) in der Adressleiste Ihres Browsers oder am Schloss-Symbol im unteren Bereich Ihres Browsers.
Wir bedienen uns im Übrigen geeigneter technischer und organisatorischer Sicherheitsmaßnahmen, um Ihre Daten gegen zufällige oder vorsätzliche Manipulationen, teilweisen oder vollständigen Verlust, Zerstörung oder gegen den unbefugten Zugriff Dritter zu schützen. Unsere Sicherheitsmaßnahmen werden entsprechend der technologischen Entwicklung fortlaufend verbessert.
10. Aktualität und Änderung dieser Datenschutzinformation
Diese Datenschutzinformation ist aktuell gültig und hat den Stand [Mai 2018].
Durch die Weiterentwicklung unserer Webseite und Angebote darüber oder aufgrund geänderter gesetzlicher bzw. behördlicher Vorgaben kann es notwendig werden, diese Datenschutzinformation zu ändern. Die jeweils aktuelle Datenschutzinformation kann jederzeit auf der Webseite unter Link auf diese Seite: https://www.fokus.fraunhofer.de/datenschutz von Ihnen abgerufen und ausgedruckt werden.
11. Salvatorische Klausel
Sollten einzelne Bestimmungen dieser Datenschutzerklärung ganz oder in Teilen unwirksam oder undurchführbar sein oder werden, berührt dies nicht die Wirksamkeit der übrigen Bestimmungen. Entsprechendes gilt im Fall von Lücken.

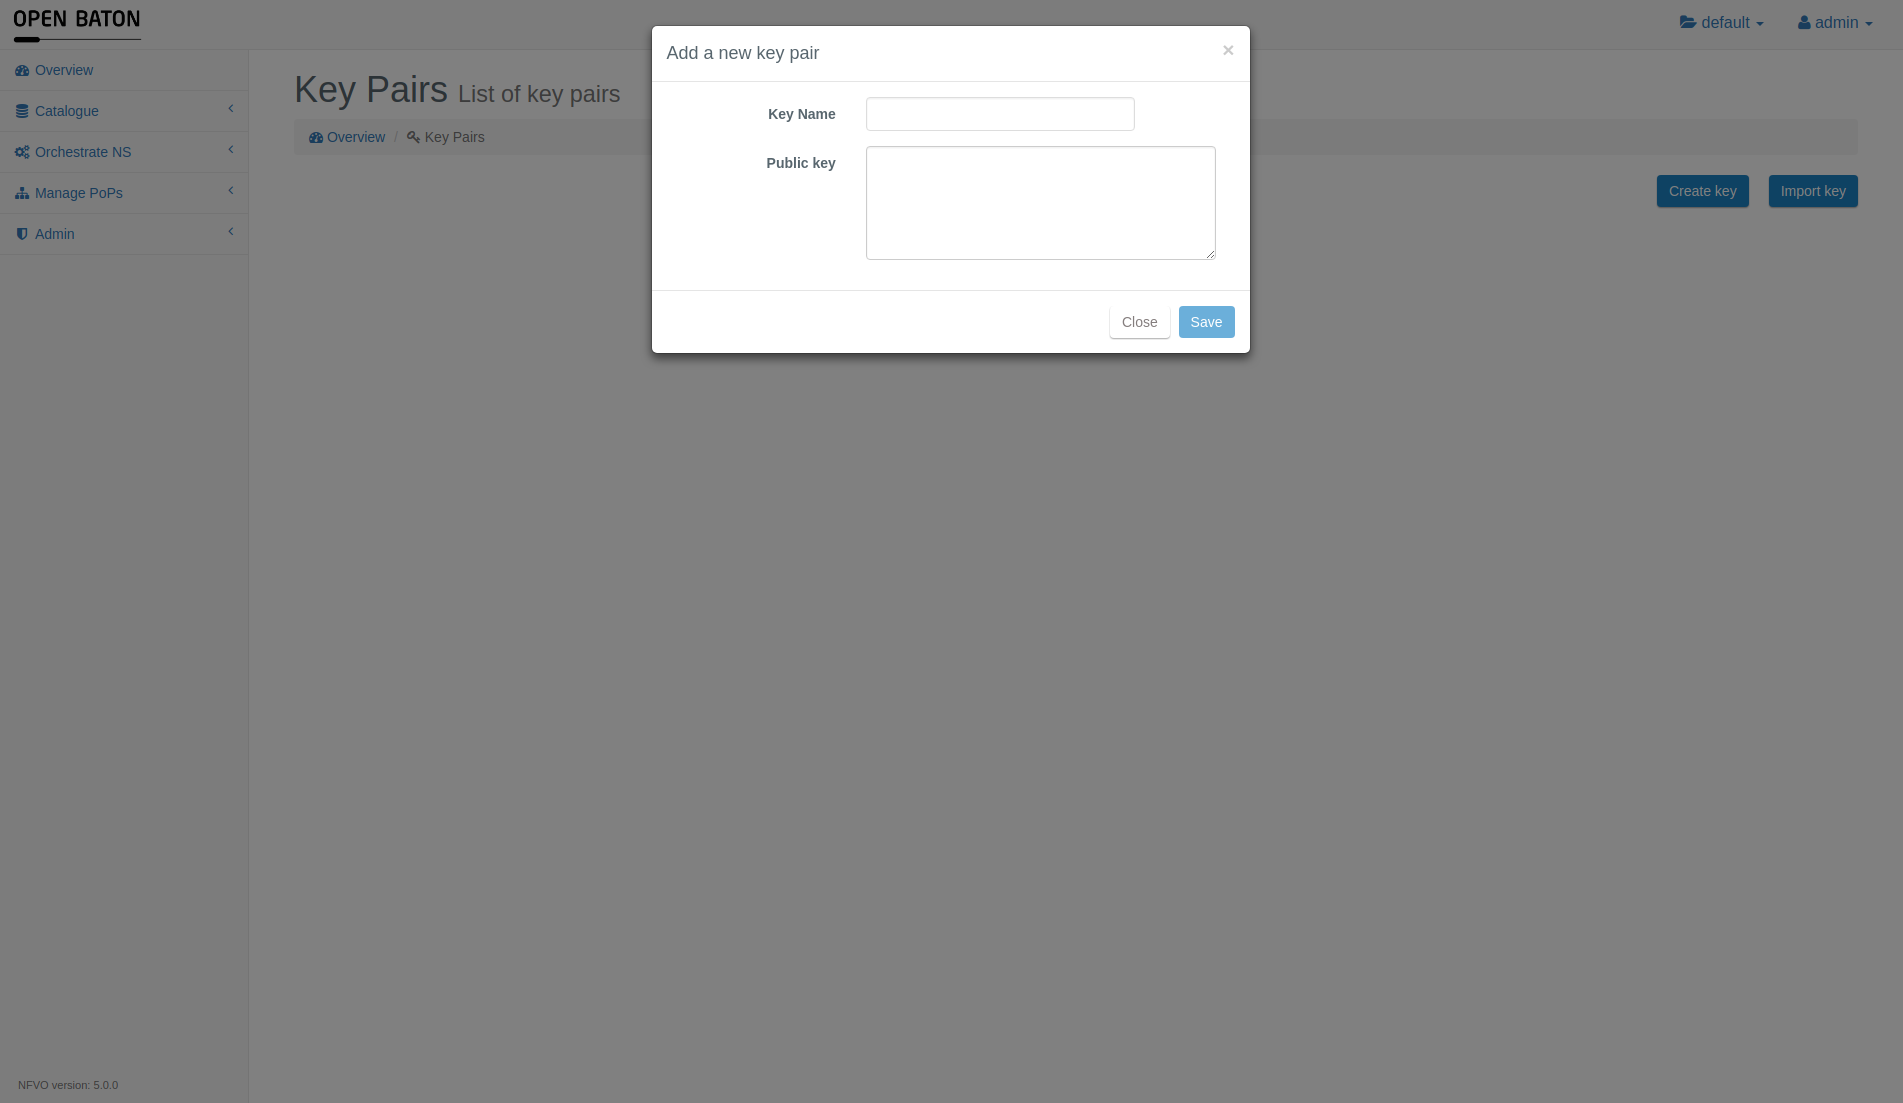
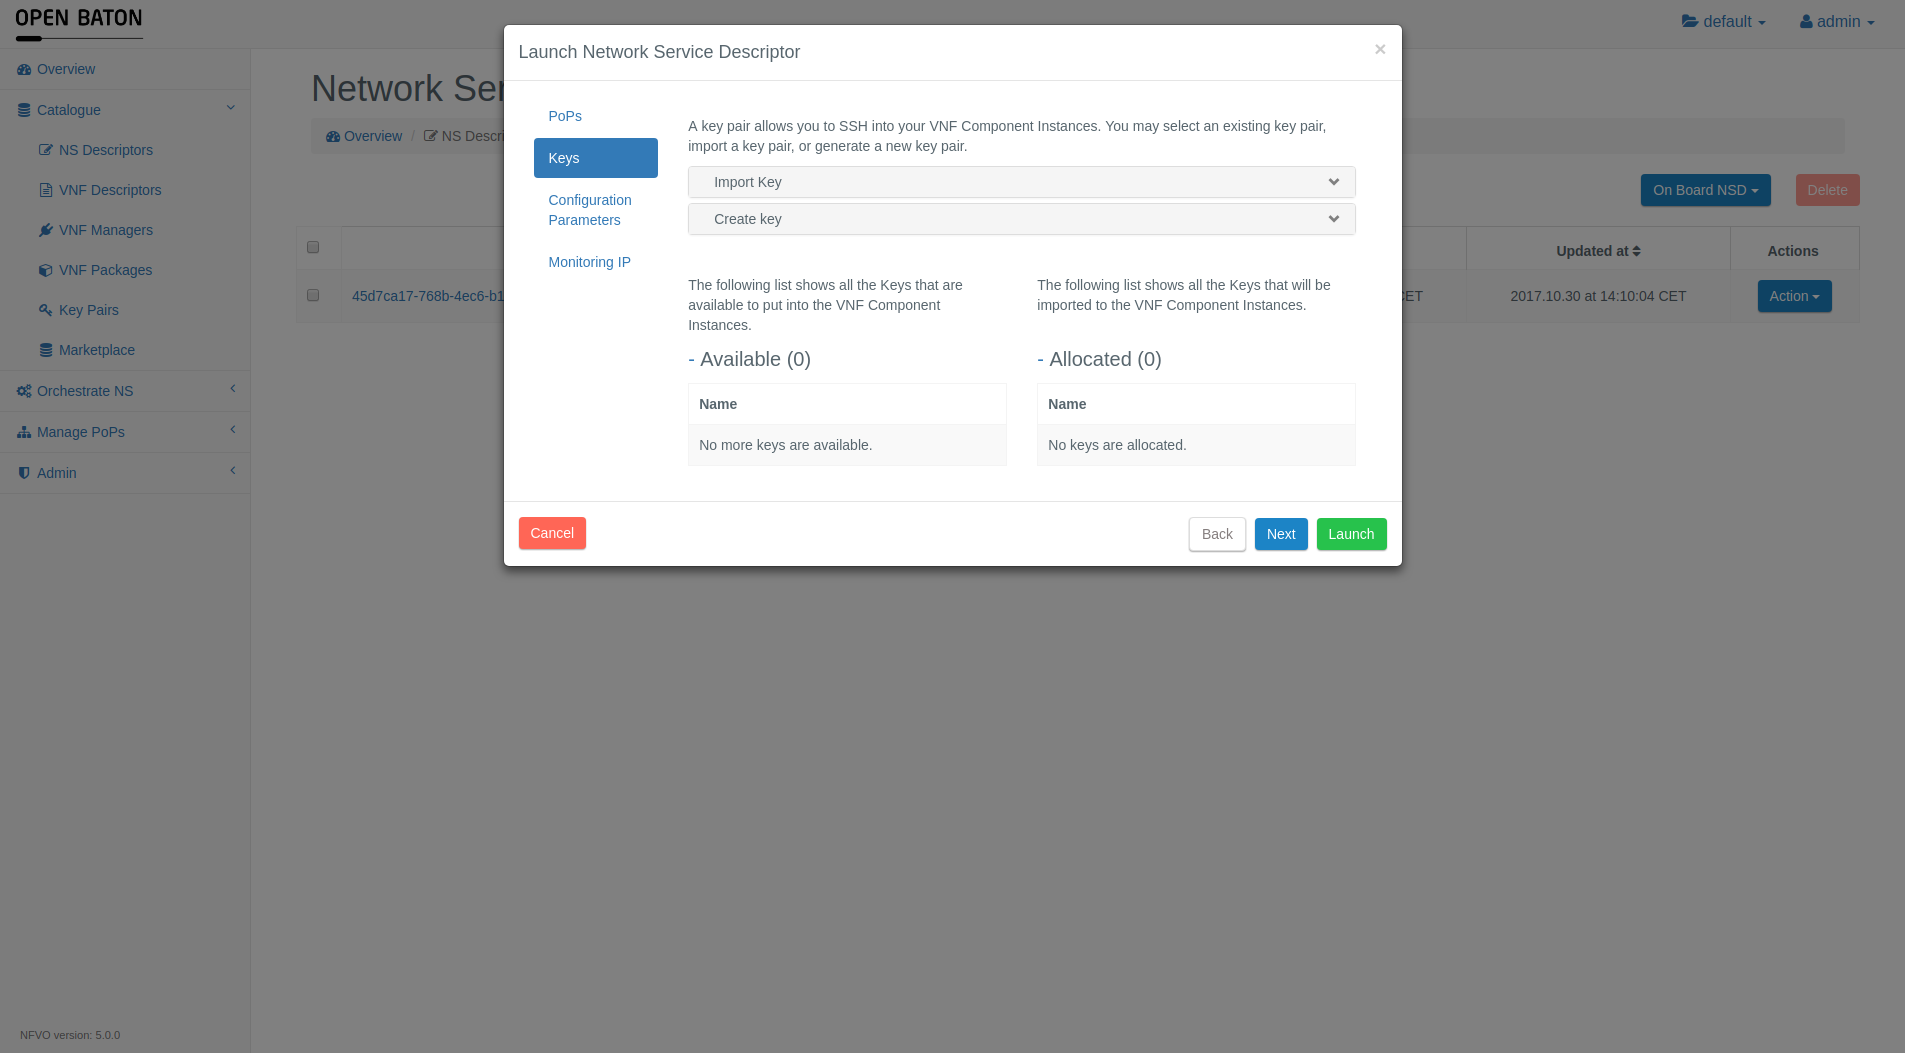
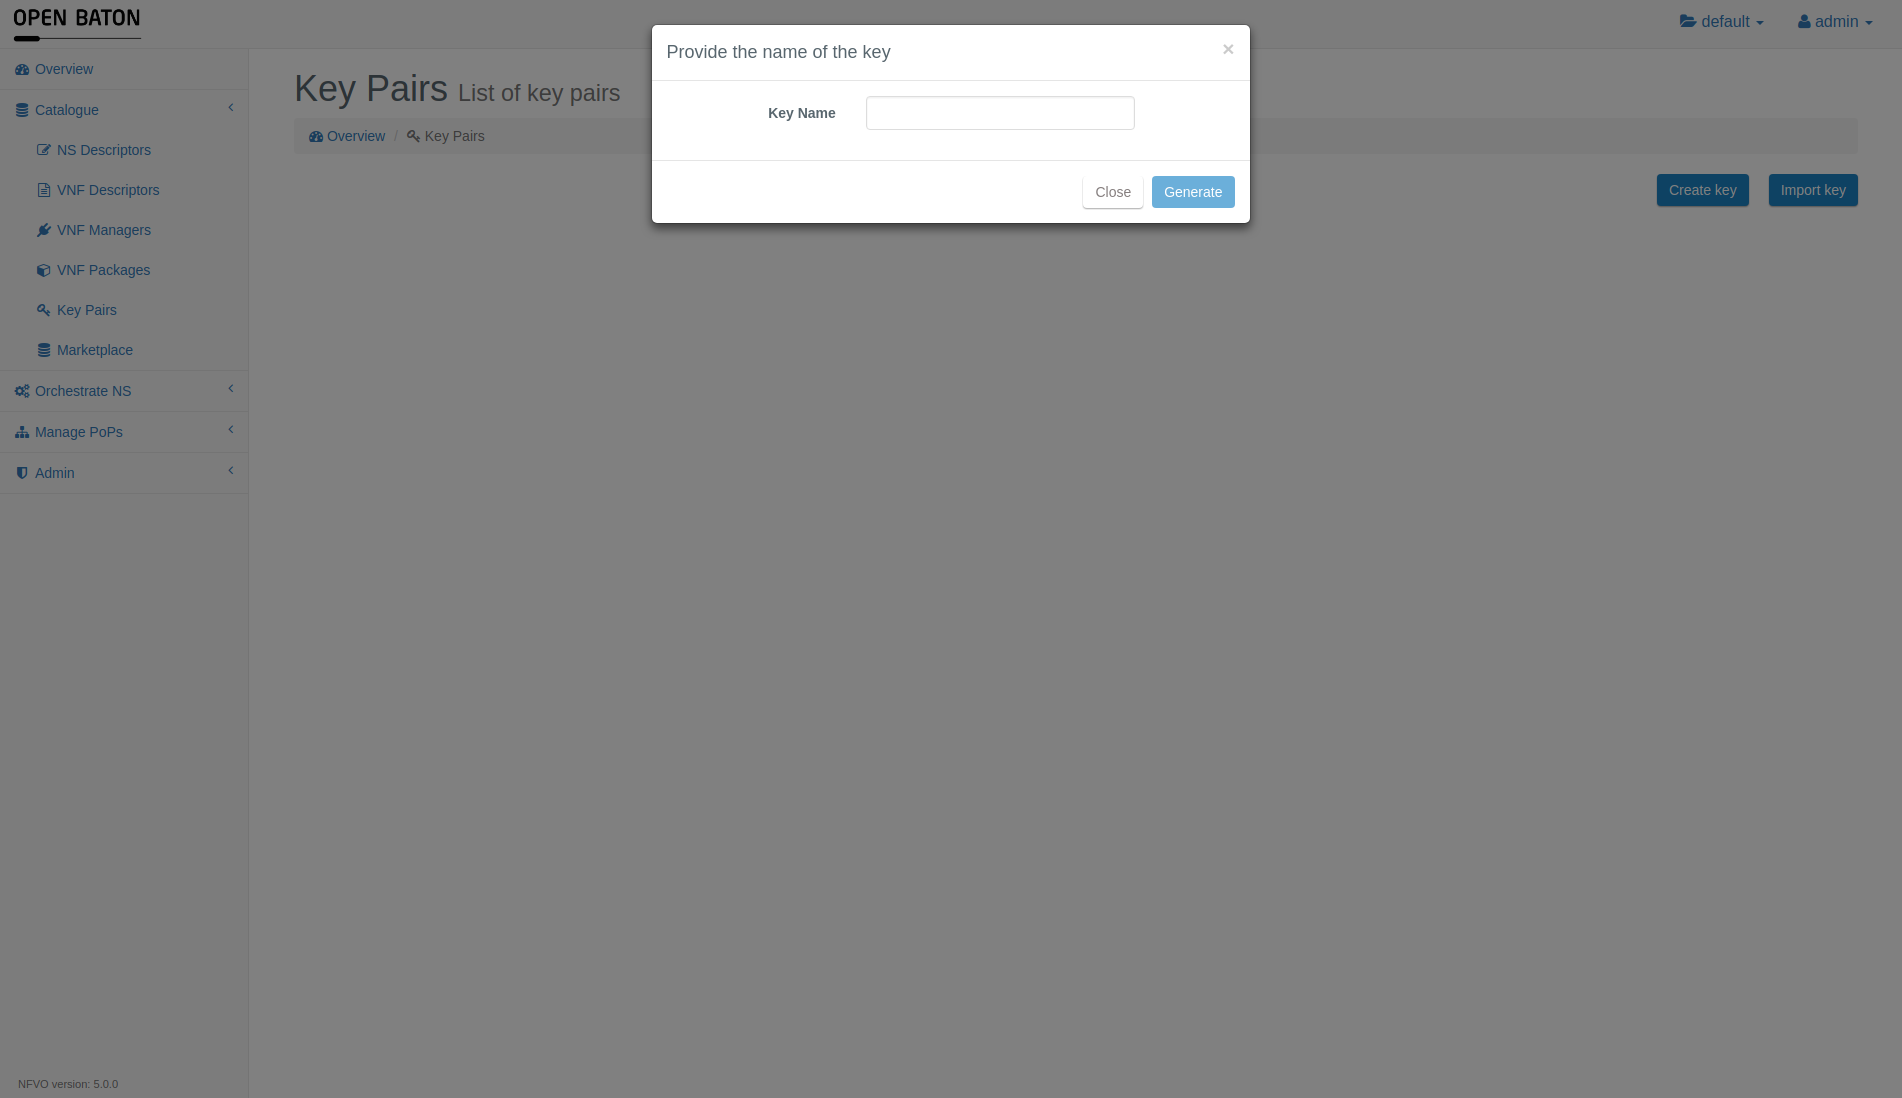 IMPORTANT: You will be promted to download the private key after you press Generate. Currently there is no option to regenerate a key. If you do not download the key, you will have to generate a new one.